Showing posts with label appetizer. Show all posts

Sunday, May 27, 2012

Focaccia


After I made my vegetable broth, I wanted to use some of my leftover vegetables.  I decided to put them to good use on top of some focaccia. The recipe I used came from the Food Network. Since you can check out the recipe with the link, I won't go into too many details about the process. 

Basically, first I made dough and let it rise. I modified the recipe by substituting half of the flour with whole wheat flour. That is why the dough has a darker coloring.


After the dough doubled in size, I spread it out on a pizza pan and let it rest for a few minutes.


Then, I sprinkled on my toppings and baked it in the oven. You can see here that I added roasted vegetables, olives, cheese, oregano, parsley, and rosemary.


This focaccia had a great texture, even with the whole wheat flour.  I ate it for lunch most days of the week that I made it.  I found that heating it up in the toaster oven worked wonderfully.


Monday, May 21, 2012

Sushi!


A couple of weekends ago, I had some friends over to make sushi.  I had never made sushi before.  Believe it or not I only started eating it about a year go.  Here's the scene:


The first step in making sushi is to make sushi rice. According to my bag of rice, sushi actually means "vinegar rice."  I bought a special bag of sushi rice at the regular grocery store.  It is different from other types of rice because it has shorter grains and becomes sticky when it cooks.  I found a recipe for sushi rice online here: http://www.foodnetwork.com/recipes/alton-brown/sushi-rice-recipe/index.html.  It's really simple.  First I made rice (hopefully you know how to do that).  Then, I mixed in a combination of rice vinegar, sugar, and salt that I had heated up in the microwave. 


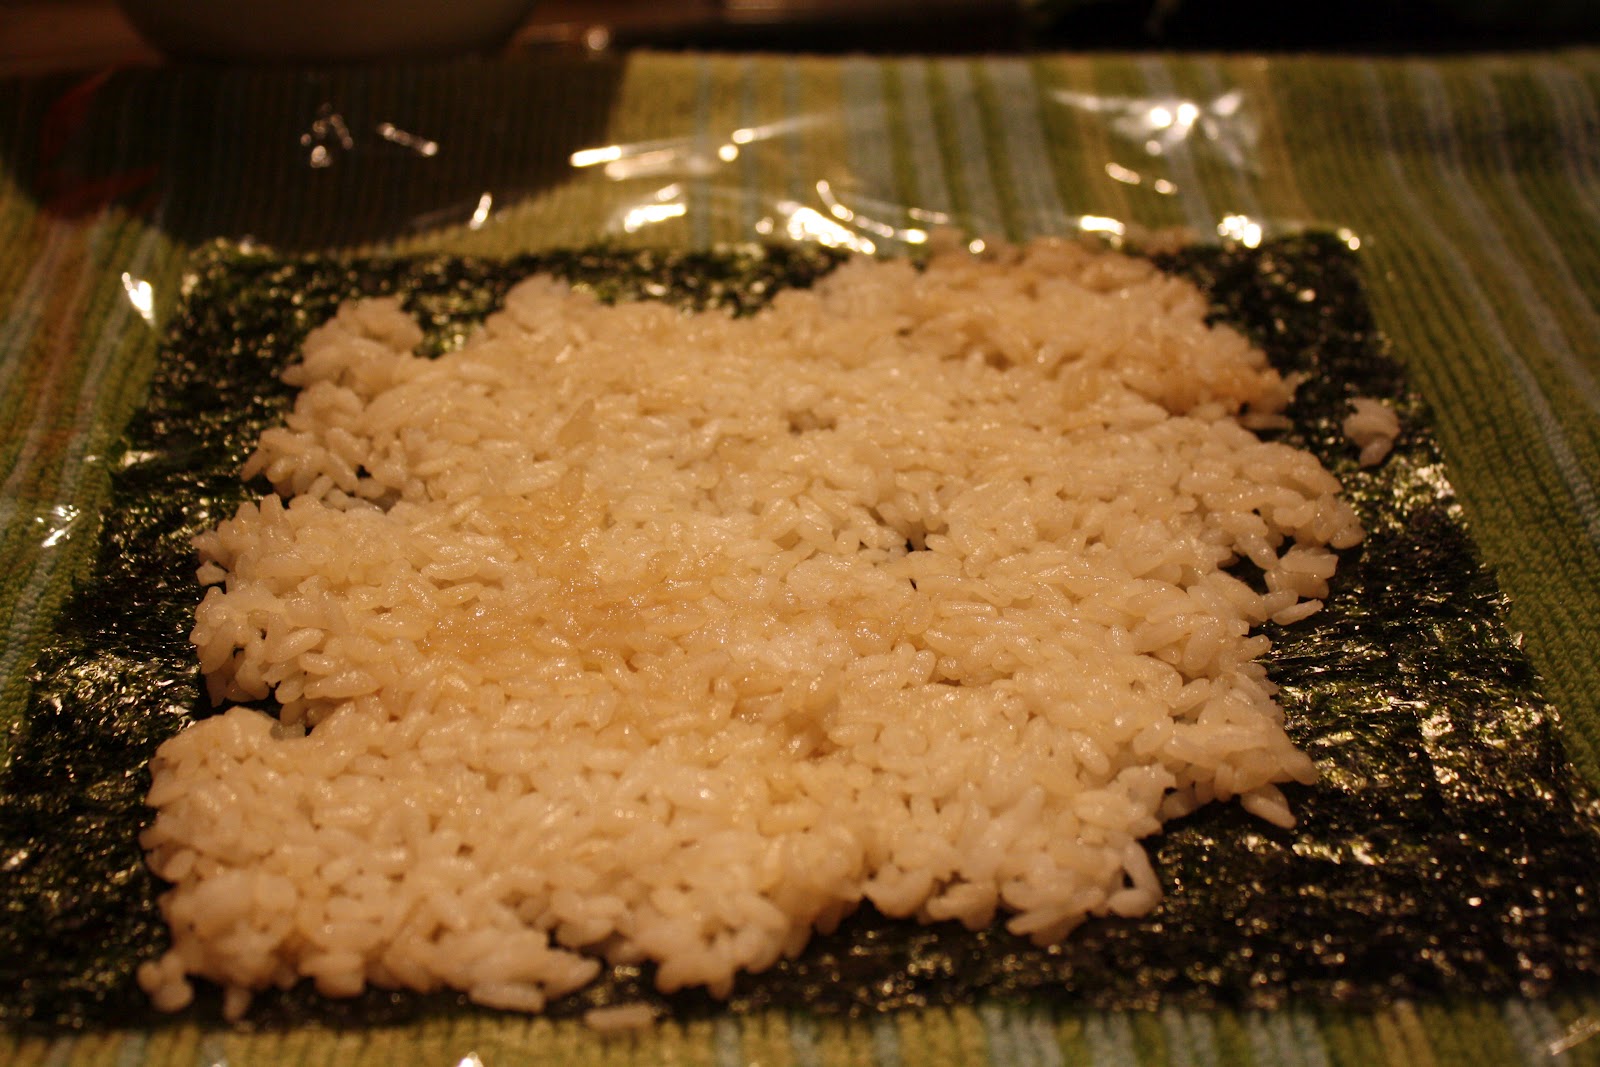
The most torturous part of sushi making is letting the rice cool to room temperature before continuing.  After it cooled, we patted the rice down on sheets of seaweed.  My normal grocery store doesn't sell seaweed, though I'm sure more upscale groceries stores do.  I bought mine at WholeFoods. Here are a few tricks that will make your lives much easier when making sushi:
  1. Keep a small bowl of water handy to dip your fingers in when working with the rice.  It is really sticky.
  2. Leave a strip of seaweed exposed on one end of the sushi so that you can seal the roll.

The next step is to lay on the fillers.  This roll has cucumber, avocado, and crab.


This roll has cucumber, avocado, and salmon.  We cooked our salmon before using it.  It is possible to buy high quality fish that does not have to be cooked for making sushi.  Be sure it is sushi grade fish. This fish goes through a different process to ensure that it is safe to eat raw.


After all of the ingredients are laid out on the seaweed, roll it up.  There are special bamboo mats made just for this purpose.  We used a towel and plastic wrap instead.  There are lots of Youtube videos out there on how to do this. 


And voila!  Here is the avocado cucumber crab roll:


And the avocado cucumber salmon roll:


Making sushi at home really is not difficult, but actually quite fun.  In the long run it would be far cheaper than buying take-out.  There is a little up-front investment though, since the ingredients aren't household staples (in my house at least).


Monday, February 27, 2012

Green goo?


I recently made two dishes that turned out looking like green goo, or slime, about the color of Shrek.  Appetizing, huh?  While they looked suspicious, they were actually quite delicious. 

The first of my green slime dishes was a healthy version of cream of asparagus soup.  Inspired by http://blogilates.com/category/recipe-index/healthy-side-dishes, it was actually very simple.  First I boiled vegetable stock and cooked a bunch of fresh asparagus on the stove until tender. Next I used my blender to puree the asparagus along some of the water it was boiled in and some chopped onion.  See pic above. After the mixture was smooth, I put it back in a pot and it went back on the stove to stay warm while I stirred in a container of plain Greek yogurt. After seasoning with salt, pepper, cayenne, and some fresh cilantro, it was ready to be devoured.  And devoured it was.


My second green slime dish was inspired by dinner at my dad's friend's house.  As she was cooking dinner, she set out vegetables and edamame hummus from Trader Joe's.  Naturally, with my new edamame obsession, and perpetual hummus eating, I was intrigued. Believe it or not, there is only one Trader Joe's in DC.  Despite my love for Trader Joe's, I have not yet been.  It requires transferring on the metro, which I try to avoid as much as possible.  So, I decided to make some myself.  I used the same technique that I use for traditional chickpea hummus, but replaced some of the chickpeas with boiled edamame. Basically, in my Magic Bullet I combined canned chickpeas, some of the juice in the can, boiled edamame, two garlic cloves, olive oil, cumin, and cayenne.  After a minute or so of blending, the hummus was ready to go. Great for dipping crackers, pita, homemade tortilla chips, cucumbers, peppers, and carrots.


Wednesday, February 1, 2012

Mall-style pretzels


My boyfriend Brandon and I have a shopping deal.  He will go shopping with me as long as I buy him an Auntie Anne's pretzel. Last weekend, we designated Saturday as a cooking day.  We made all kinds of healthy food (more on that to come), in addition to pretzels for Brandon.  The first step was to make dough.  We made a pretty standard dough, from flour, sugar, brown sugar, yeast, and water.  He kneaded it for about ten minutes, and then we let it rise for an hour.


Once the dough had sufficiently risen, we rolled it out into long skinny ropes.  The ropes were supposed to be pencil thin, but ours were more like thick crayons. Each pretzel required a three foot long piece of dough.  With the leftovers, we made nuggets, which were each two to three inches long.


After the dough was rolled out, we twisted the dough into pretzel shapes.  Before they could go into the oven, we dipped them into water, which had some baking soda dissolved into it.  I'm not quite sure why the recipe called for this step.  It may be to help the pretzels brown, but ours did not brown especially well. It may work better to brush the pretzels with egg white or butter before putting them into the oven.


Finally, we baked the pretzels on a tray sprayed with non-stick spray (important, we learned) for 10 minutes at 375 degrees.


When the pretzels came out of the oven, we brushed them with butter and then sprinkled with salt.  The best pretzels always have big chunks of salt, so we scoured the grocery store--two actually, whole foods and giant--for coarse kosher salt. Alternatively, you could sprinkle on cinnamon and sugar, or whatever other flavor combination your heart desires.  I recommend eating these immediately, because they do not keep well, but are quite tasty fresh!

Sunday, January 22, 2012

Football food


Chicken wings!!! 

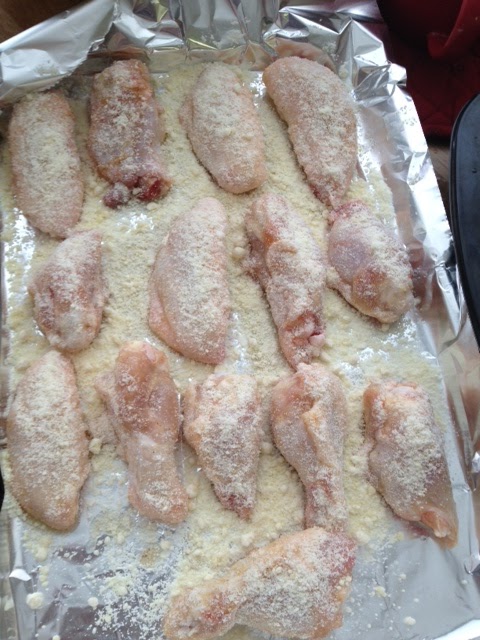
If you've been reading my blog, you've probably figured out that I don't eat too much meat.  My weaknesses aren't high quality cuts, but bacon and chicken wings. Today, in the spirit of the playoffs, I made chicken wings with my boyfriend and his roommate Aaron. We made two kinds--buffalo and garlic parmesan. First, we cut up the wings, removing the tips.  


Then, we made the two sauces.  For the buffalo sauce, we sauteed ginger, garlic, butter, and scallions in a pot.  Then we added hot sauce and let it cook for a couple minutes.  For the garlic parmesan wings, we melted a stick of butter in a pan and added some garlic powder and onion salt. We preheated the oven to 450 and then covered the wings in their respective sauces.  Before putting them in the oven to break, we sprinkled (liberally) parmesan cheese on the garlic parmesan wings.


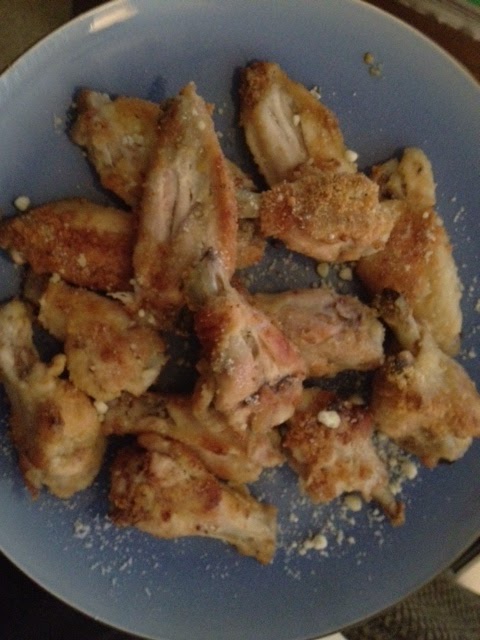
Bake the wings until they are done to your liking--shorter if you like them juicy, longer if you like them crispy.


The final step is to enjoy!  Make sure you have plenty of ranch or water on hand for the buffalo wings.  After eating, I recommend a nice nap on the couch before the football game starts. :-) 

Sunday, January 8, 2012

Nacho average Nachos

Last night I went out to Applebees for dinner.  I couldn't decide if I wanted nachos as an appetizer, but my boyfriend wanted mozzarella sticks, so we went with that.  It turns out that I really did want nachos, so I made them today during the Denver-Pittsburgh game (at half time, don't worry I didn't miss anything).  I layered tortilla chips, shredded cheese, black beans, a sliced up jalapeno, and fresh salsa in a glass dish and baked it in the oven for about 5-10 minutes.